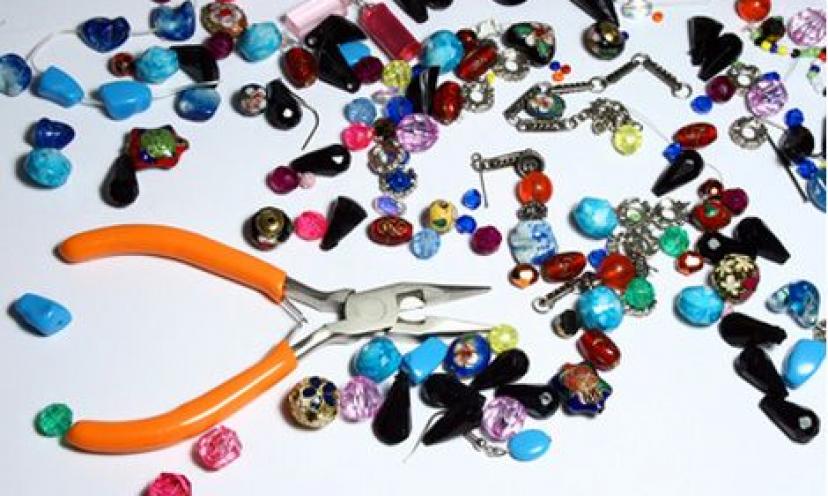
Have you ever considered hand-crafting your own jewelry? It can be a great activity the whole family can do together! You and the kids can come up with unique and creative ideas for putting together homemade necklaces.
Crafting your own necklaces from ready-to-grab materials is a cost-effective and fun family activity for the season! Here are a few ideas and recipes we’ve put together for creating your very own necklaces.
1. Rock Necklaces
Rocks can provide you with a variety of options to create stylish necklaces! All you need are colorful wires to wrap around your rock to act as a chain for your necklace!
This is a great gift idea for your kid’s friends as well. Invite your kids to paint their names on one side of the rock and trade them with their friends as a proclamation of an unbreakable friendship!
Materials
Small rocks
Colored wire (22-gauge)
Scissors
Pencil
Needle-nose pliers
Colored leather cord
Instructions
1. Hold the rock at the center of the wire around 15 inches long. Next, wrap the wire around the rock several times in order to secure its hold.
2. Twist the ends together, and then wrap the twisted end around the pencil in order to form a loop. You can use pliers to close the loop, then cut off any excess wire.
3. For the final touch, thread a necklace-length piece of leather cord through the loop and knot the ends.
2. Colored Pasta Necklaces
Did you know that dried pasta soaks up food coloring extremely well? The finished “beads” out of dried pastas are very easy for little hands to thread into colorful necklaces.
Materials
Dried pasta
2 teaspoons of vinegar
10 to 12 drops of food coloring
Ziploc bag
Yarn and twist tie
Paper towels
Instructions
1. Mix 2 teaspoons of vinegar with 10 to 12 drops of food coloring in a Ziploc bag. You can use a combination of different colors as you desire.
2. Put in 1/2 cup of dried pasta, such as ziti or rigatoni, to each bag and shake the bag in order to soak the pasta with the dye. Leave the pasta in the dye for approximately four to five minutes, shaking it occasionally.
3. Next, spoon out the pasta from your Ziploc bag and place it on paper towels. After 15 minutes, turn the pasta pieces over and let them completely dry.
4. Tie a piece of dry, colored pasta at the end of a length of yarn to act as a stopper. For a simple needle, fold a twist tie around the other end of the yarn and twist its ends to secure.
5. Thread the yarn through the pasta, creating your necklace.
Fun Tips:
The Italian names for a variety of shapes of pasta are actually words for common items. Entertain your children by letting them know you’re having sleeves (manicotti), cords (spaghetti), or pens (penne) for dinner.
3. Word for Word Necklace
Do you know your kids favorite artist or band? Do they have a favorite expression? Now they can easily share it with the world with this easy to make charm necklace!
Materials
Old magazines
Scissors and a glue stick
Colored plastic lids from coffee cans or other containers
Clear packing tape
Single-hole punch
Key rings
Ball chain and connector
Instructions
1. Collect several interesting words from the magazines and glue them onto your plastic lids. Be sure you still have enough space to create a colorful margin.
2. Cut the plastic-backed words you have made, and leave some room at the end for you to punch a hole later. Before punching, seal each of them with clear packing tape.
3. Trim any excess tape you see at the edges.
4. Punch a hole in the plastic and attach a key ring.
5. String all of the words onto a necklace-length ball chain.
Fun Tips:
Glue another cutout to the back of the plastic so that no matter which way the pendant may fall, you won’t be at a loss for words.
Have you tried crafting your own necklaces? How did you go about them? Let us know by writing your own comments!