Advertisement
Life Hack: How To Can or Pickle Fruits and Veggies All Year
Blog | March 31st, 2021
Many people grow fruits and veggies in their yard or pots year-round. If you’re going to grow your own food, you may also want to know how to can or pickle so you can enjoy your bounty throughout the year.
There are two types of pickling – a quick pickle or a canned pickle. When you choose to quick pickle, you’re marinating the food to give it more flavor. With can pickling, you’re preserving the ingredients so they’ll last longer. The process you choose will affect your food’s flavor and life expectancy.
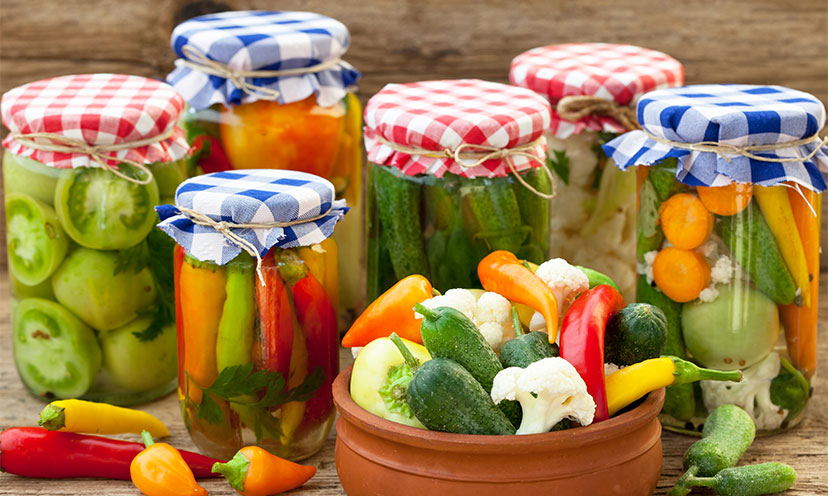
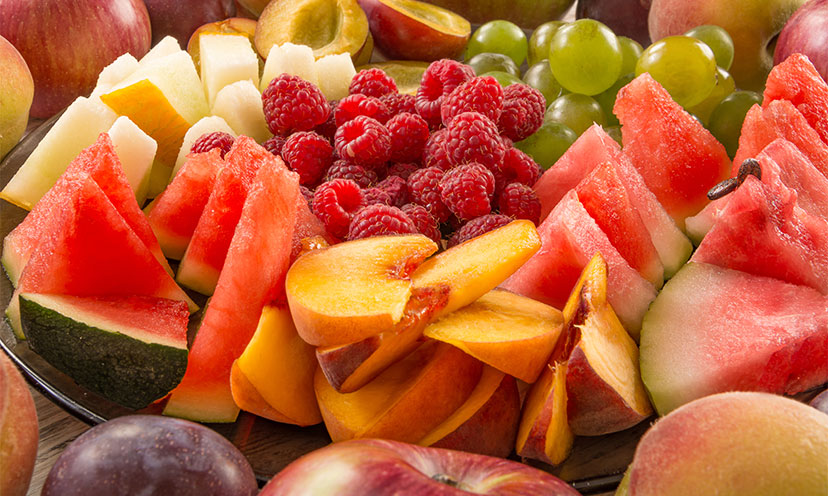
What Fruits and Veggies Can You Pickle?
In the 1800s, canning food was the only way to have fruits and veggies once the garden went into hibernation.
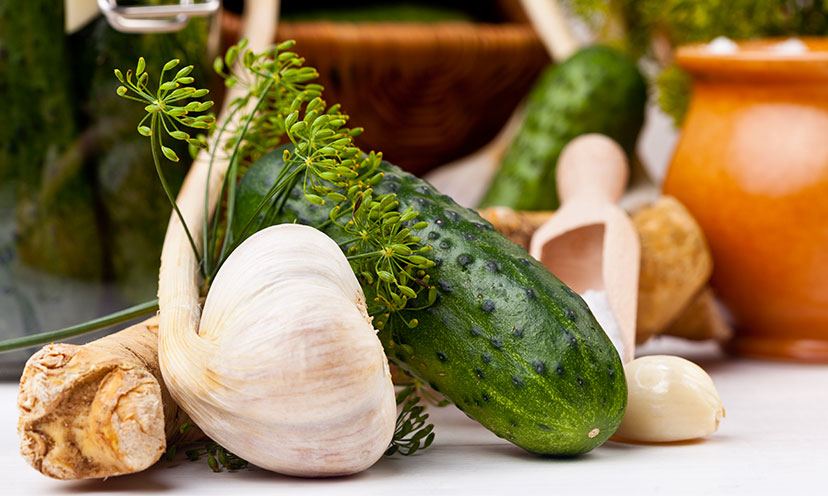
Thanks to our ancestors, we’ve learned to use a pickling process to preserve a wide range of ingredients from the garden. If you buy a jar of pickles from the store, you’re familiar with the most common pickled ingredient – cucumbers.
Besides cucumbers, you can also pickle other harvests, including:
- Beets
- Asparagus
- Green beans
- Mushrooms
- Cauliflower
- Carrots
- Cabbage
- Radishes
- Rhubarb
- Bell peppers
- Cherries
- Blueberries
- Fennel
- Grapes
- Ginger
- Parsnips
- Onions
- Peppers
- Peaches
- Ramps
- Squash
- Zucchini
- Strawberries
- Turnips
- Watermelon
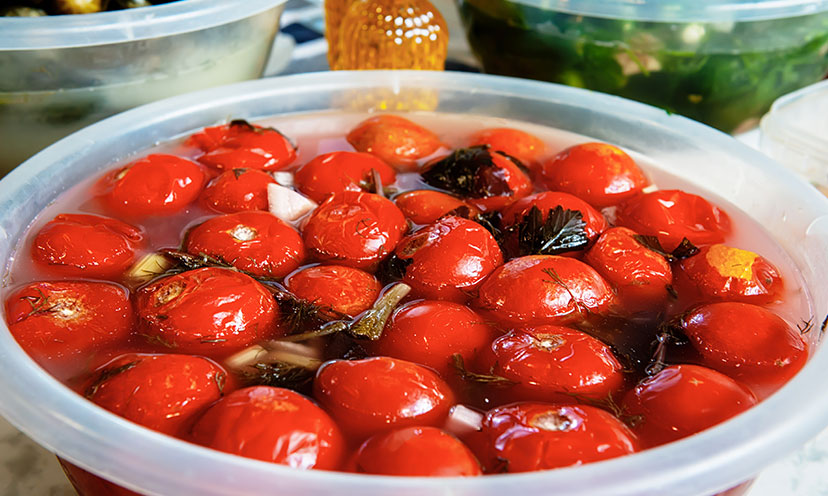
- Tomatoes
There are other vegetables and fruits you can pickle, but these are the most common.
Related: 19 FREE Samples That Are Perfect For An Easter Egg Hunt!
Ingredients for Pickling
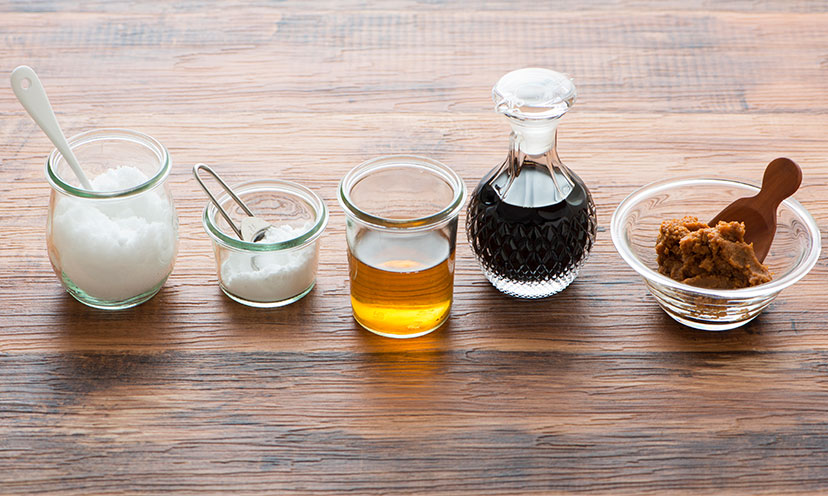
You’ll need three ingredients – vinegar, water, and pickling salt to pickle fruits and veggies. Don’t use regular table salt since it contains iodine and other ingredients that will affect the brine.
You’ll also need containers to store your ingredients. You can get mason jars and canning supplies at your local Walmart. It’s also a good idea to keep ice on hand if you have to blanch your ingredients first
Pickling Process
Pickling and canning your summer harvest is an easy process.
Make a Brine
Start by making a brine. This liquid goes in the jar with your seasonings and prepared harvest. A brine consists of water, pickling salt, and vinegar. There are multiple kinds of vinegar, so you can play around with the different types to see which flavor you prefer.
The best kinds for pickling or canning are:
- White vinegar
- Apple cider vinegar
- Rice vinegar
- Champagne vinegar
- Balsamic vinegar
- White wine vinegar
- Sherry vinegar
Easy Brine Recipe
In a pot, combine six cups of water with three cups of vinegar (use a 2 to 1 ratio if you want a larger or smaller amount) and half of your pickling salt. Then bring the mixture to a boil. If you want a sweeter flavor, you can also add in some sugar.
Add Flavor
You can leave your brine unflavored or add extra ingredients for taste. When using whole spices, remember they have a higher flavor concentration, so a little will go a long way.
Common items added to brines include:
- Seeds – dill, mustard, caraway
- Fresh herbs – tarragon, thyme, basil, dill, rosemary, oregano
- Spices – cumin, coriander, ground turmeric
- Red onions
- Fresh garlic cloves
- Whole peppers (hot or mild)
- Ginger root (peeled and fresh)
- Red pepper flakes
- Whole peppercorns
Prep Ingredients
Next, prepare your fruits and veggies. Most vegetables will be raw when pickling, although you can give them a quick blanch. Root veggies like beets will need to be fully cooked first.
Raw Pickle
- Cucumbers
- Chili peppers
- Squash
- Scallions
- Mushrooms
- Radishes
Cooked First
- Turnips
- Beets
- Parsnips
- Rutabagas
Blanched First
- Green beans
- Asparagus
- Corn
- Broccoli
- Okra
- Pearl Onions
- Carrots
- Garlic
- Tomatoes
To blanch your food, add the ingredients to a pot of boiling water or steam them for two to five minutes. Then transfer them immediately into an ice bath – referred to as shocking. After you’ve blanched and shocked your veggies (or fruits), cut them into uniform size pieces. You can use a knife, but a mandoline would do better.
Fill Jars
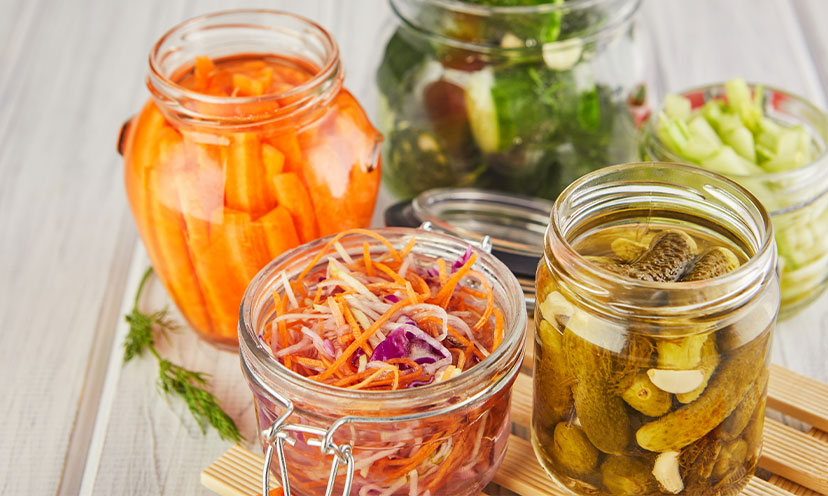
The final thing to do for pickling is to fill your sterilized jars halfway to the top with your harvest. Pour in the brine, leaving a ½ of space at the top. Once the brine cools, add the lids.
For a quick pickle, store your jars in a refrigerator for two weeks. These will last around four months.
Canning
If you want to preserve your harvest for long-term storage, place the jars into a large pot filled with enough water to cover two inches past the top of the jar. Cover the pot with a lid and bring to a boil and cook for ten minutes. Turn off the heat and remove the lid.
Once the water stops boiling, use tongs to pull the jars out and place them on top of a towel to cool. To test whether the canning process worked, press down on the center of the lid. If it doesn’t press down and make a popping sound, you’ve done it successfully.
Store your canned goods in a dry, cool area and use them within one year for best results, although many will last for multiple years if left sealed.
Related: Every Item You Should Stock Up On In Spring!
Get It Free Recommends